Jenkins, a self-contained Java-based program which was forked from the Hudson project can easily be installed on Ubuntu… and this brief tutorial is going to show students and new users how to do it with Ubuntu 16.04 / 17.10 and 18.04 servers…
For those who don’t know about Jenkins, here’s a brief overview: It’s a leading open source automation server which provides hundreds of plugins to support building, deploying and automating any project.
Out-of-the-box, it supports Windows, Mac OS X and other Unix-like operating systems… and can easily be distributed across multiple machines, helping drive builds, tests and deployments for multiple platforms efficiently…
For more about Jenkins, connect to its hompage…
When you’re ready to install Jenkins, follow the steps below:
Step 1: Install Java
Since Jenkins requires Java, you must first install it… Oracle Java is recommended and the PPA below contains it for Ubuntu..
To add the PPA which contains Java, run the commands below
sudo add-apt-repository ppa:webupd8team/java
After running the commands above, you should see a prompt to accept the PPA key onto Ubuntu… accept and continue
Continue below to install Java 8…
Step 2: Download Oracle Java 8 Installer
Now that the PPA repository has been added to Ubuntu, run the commands below to download Oracle Java 8 installer…. the installer should install the latest Java JDK 8 on your Ubuntu machines.
sudo apt update
sudo apt install oracle-java8-installer
When you run the commands above you’ll be prompted to access the license terms of the software… accept and continue..

Step 3: Configure Oracle JDK8 as Default
Set Oracle JDK8 as default, to do that, install the oracle-java8-set-default package. This will automatically set the JAVA env variable.
sudo apt install oracle-java8-set-default
The command above will automatically set Java 8 as the default… and that should complete your installation, you can check you java version by running following command.
javac -version
Step 4: Install Jenkins
Now that Java is installed, follow the guide below to install Jenkins…
wget http://mirrors.jenkins.io/war-stable/latest/jenkins.war
Then run the commands below to add the repository…
Open up a terminal in the download directory.
Run java -jar jenkins.war --httpPort=8080.
sudo systemctl stop jenkins.service sudo systemctl start jenkins.service sudo systemctl enable jenkins.service
Next, open your browser and browse to the server hostname or IP address followed by port # 8080
When you that, you’ll get a prompt to enter the initial admin password… run the commands below to view it on the system…
cat /var/lib/jenkins/secrets/initialAdminPassword
Copy and paste it into the field and continue with the setup… Install all plugins… and wait for the process to complete… after that you’ll create an admin account and complete the installation…
We’ll copy the 32-character alphanumeric password from the terminal and paste it into the “Administrator password” field, then click “Continue”. The next screen presents the option of installing suggested plugins or selecting specific plugins.
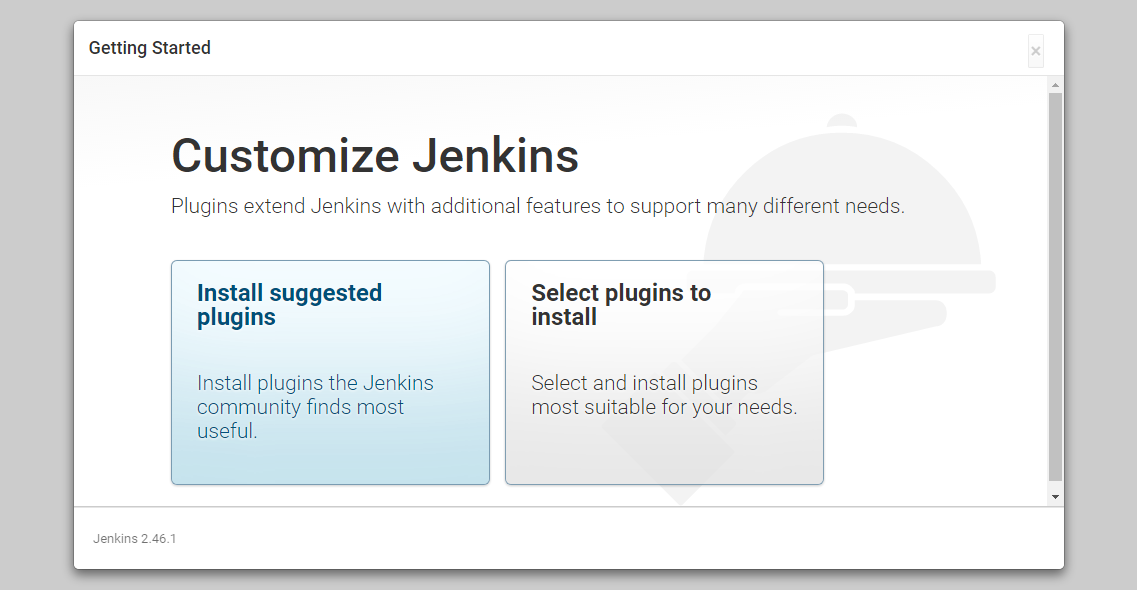
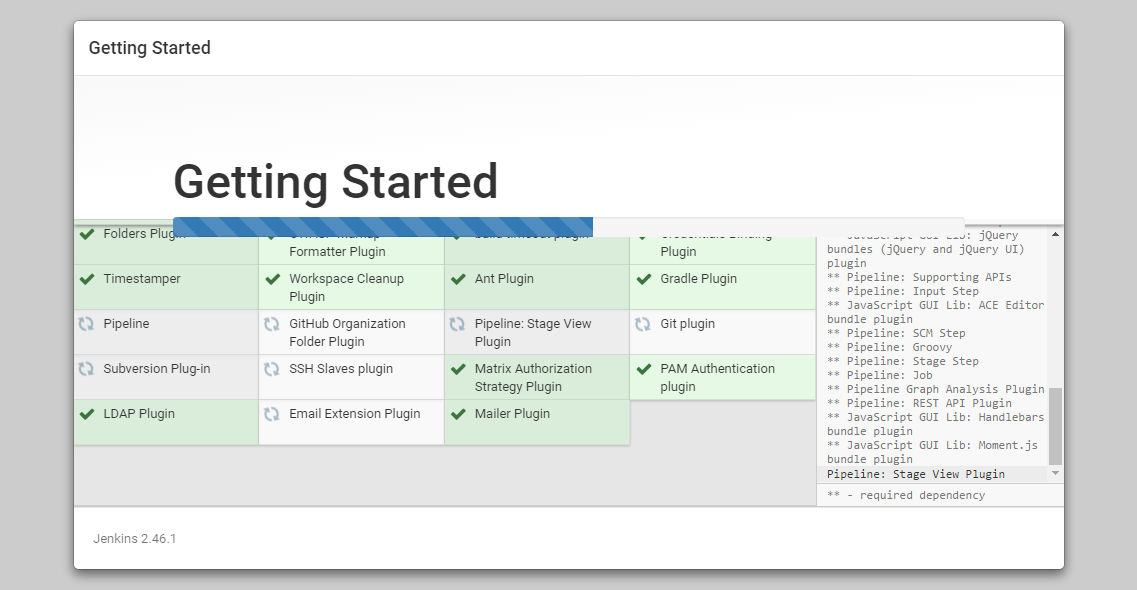
We’ll click the “Install suggested plugins” option, which will immediately begin the installation process:
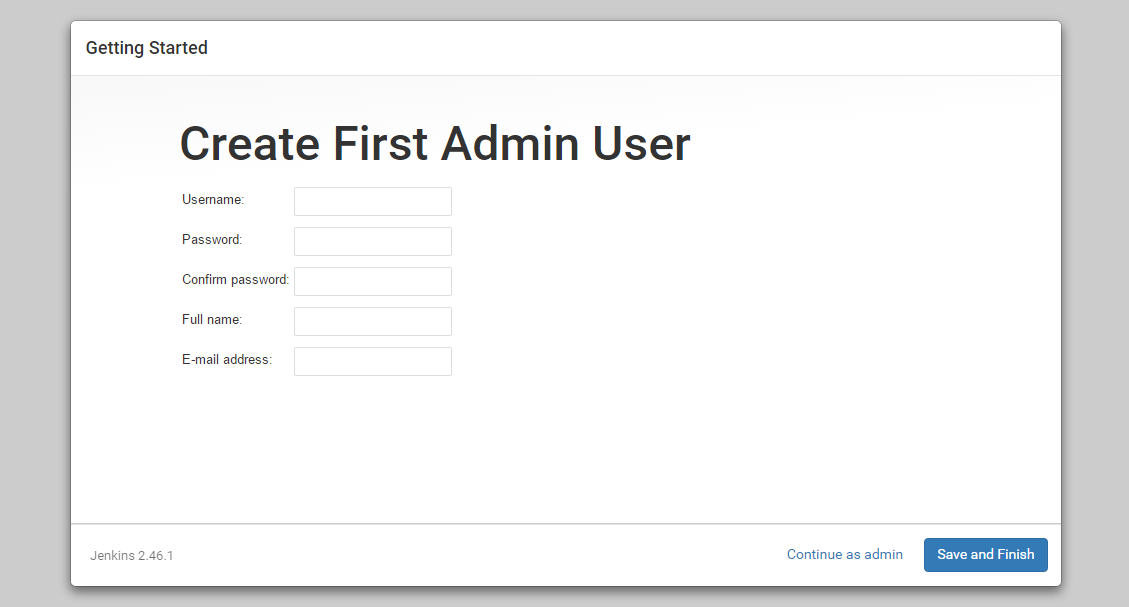
When the installation is complete, we’ll be prompted to set up the first administrative user. It’s possible to skip this step and continue as admin using the initial password we used above, but we’ll take a moment to create the user.
Note: The default Jenkins server is NOT encrypted, so the data submitted with this form is not protected. When you’re ready to use this installation, follow the guide How to Configure Jenkins with SSL using an Nginx Reverse Proxy. This will protect user credentials and information about builds that are transmitted via the Web interface.
Once the first admin user is in place, you should see a “Jenkins is ready!” confirmation screen.
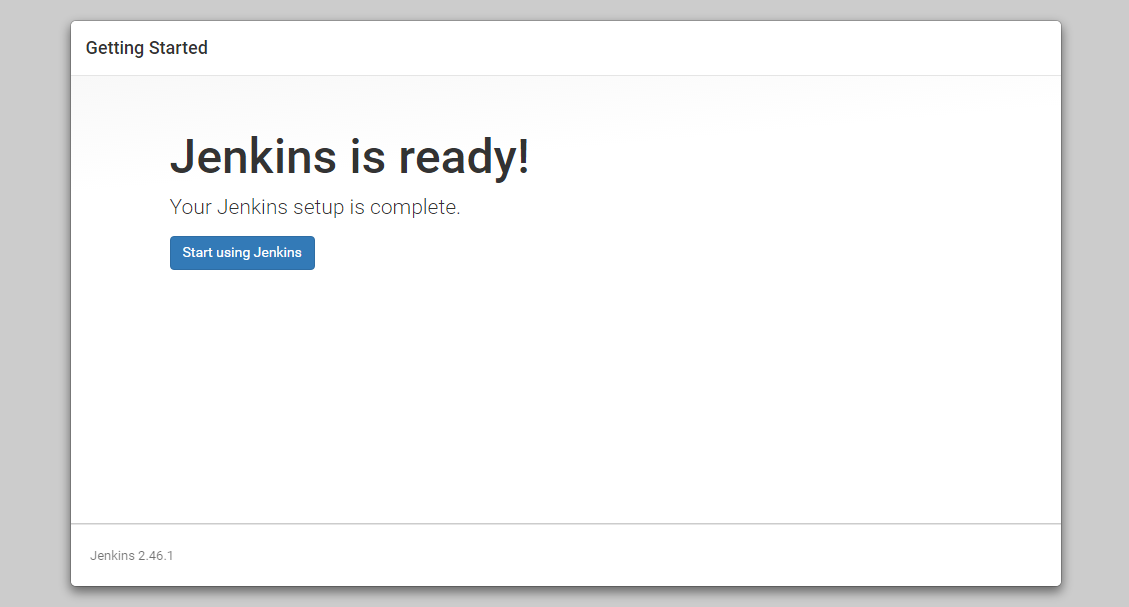
Click “Start using Jenkins” to visit the main Jenkins dashboard:
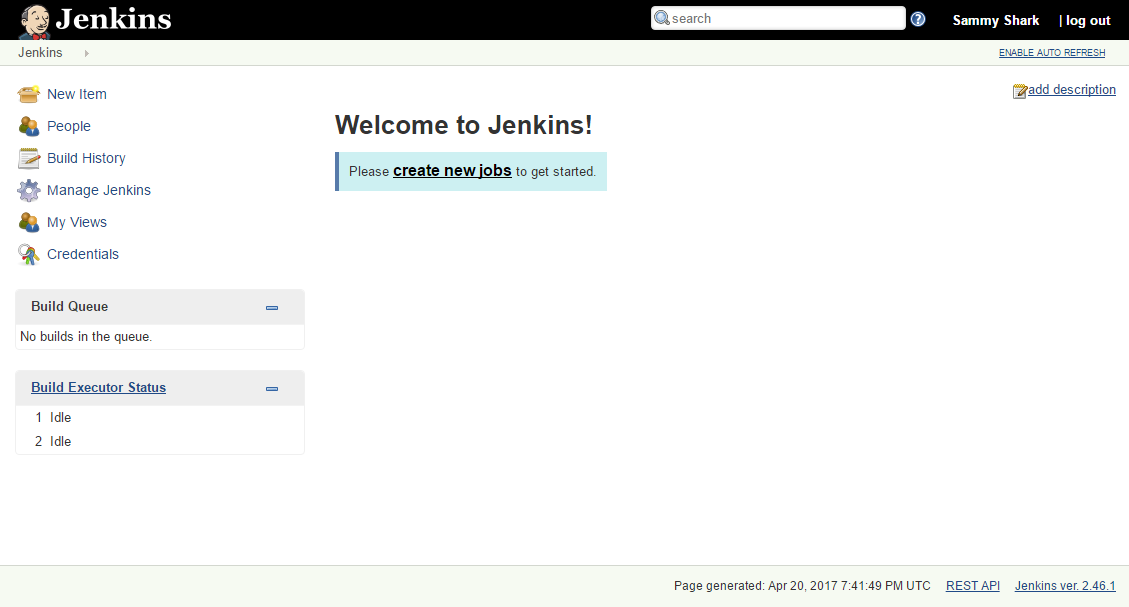
At this point, Jenkins has been successfully installed.
